I recently wondered into Goodwill looking for some things to UpCycle for my youngest son and ran across a t-shirt. It was brand new and only $1. I snagged it thinking I could make undies or a t-shirt from it for my little man.
Well, I got the shirt home and laid it out on the table and began to look at it again, the shirt said to me "I am a dress". I promise it spoke. I love my boys, 3 of them to be exact, but my daughter has been quite the little inspiration for soo much crafting. So often she gets the fruits of my labor. And this time was no different.
I am going to share with you this easy peasy process. This my first tutorial so bear with me.
Supplies ~
dress that fits your little one
T-shirt - I used an adult small
Sissors
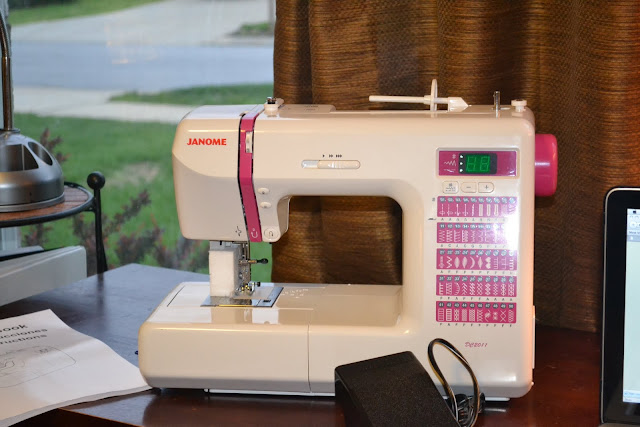
Sewing machine
thread

Cut shirt right under the arm holes.

I forgot to photograph the cutting process but this is similar. Place your dress that you are using for a patter at the neck line of the shirt. I used the tag and all.


Proceed with Basting the bottom half of the shirt. This will be the skirt


I cut the end of the arm holes for the new arm hole of the dress and attached


worked like a charm


Now attached the top to the bottom (not like this), but so it comes out right.


I then cut strips of for a ruffle

Baste your strips

Pull to create the ruffle and attach.


Your Done!

This was FUN, quick and easy. Very little sewing because you will use the hem from the shirt arms and kneck. Embellish till your little heart desires.